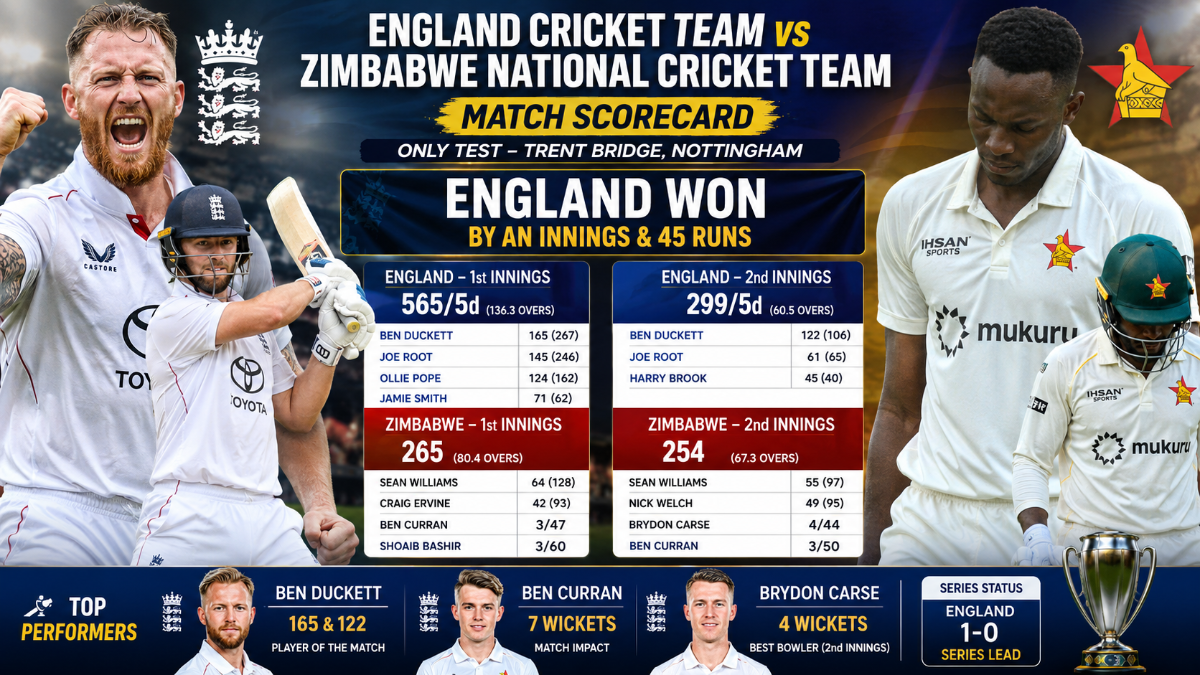
England Cricket Team vs Zimbabwe National Cricket Team Match Scorecard: Complete Batting, Bowling & Turning Point Analysis
England defeated Zimbabwe by an innings and 45 runs at Trent Bridge, declaring their first innings at 565/6 before bowling out the tourists twice for 265 and 255 across three days of an intended four-day contest. This complete England Cricket Team vs Zimbabwe National Cricket Team match scorecard breaks down every batting card, every bowling figure, the key partnerships, and the tactical decisions that turned a contest into a rout inside the opening session. Zimbabwe’s return to Test cricket on English soil after 22 years, the occasion carried genuine historical weight. What followed was a lesson in how quickly momentum can shift in Test cricket once a toss decision misfires, and how a single opening partnership can compress four days of cricket into three.
Match Overview and Result Snapshot
England beat Zimbabwe by an innings and 45 runs, with the match finishing inside three days despite being scheduled for four. Zimbabwe won the toss and opted to field first on a Trent Bridge surface that offered almost nothing for the seamers beyond the opening exchanges. That single decision effectively decided the outcome of the match before either side had settled into a rhythm. The score line tells only part of the story. England’s batting depth, built around three individual centuries in the same innings, exposed a Zimbabwean attack that lacked the control and variety to apply sustained pressure across 96 overs. Once Ben Stokes’ side crossed 500, the match had effectively become a formality, with the only remaining question being how quickly England’s bowlers could finish the job.
| Detail | Information |
| Match | Test No. 2584, Zimbabwe tour of England 2025 |
| Venue | Trent Bridge, Nottingham |
| Dates | 22–24 May 2025 |
| Format | Four-day Test (concluded in 3 days) |
| Toss | Zimbabwe won, elected to field |
| Result | England won by an innings and 45 runs |
| Player of the Match | Shoaib Bashir |
| Umpires | Kumar Dharmasena, Allahuddien Paleker |
| TV Umpire | Ahsan Raza |
| Match Referee | Jeff Crowe |
| Notable Debut | Sam Cook (England) |
Why Zimbabwe’s Toss Decision Backfired
Zimbabwe’s seam-bowling unit expected early moisture and lateral movement off a fresh Trent Bridge surface, which is precisely why captain Craig Ervine chose to bowl first after winning the toss. In practice, the pitch played flat and true from the very first over, offering true bounce and even carry rather than the seam movement Zimbabwe’s attack was built to exploit.
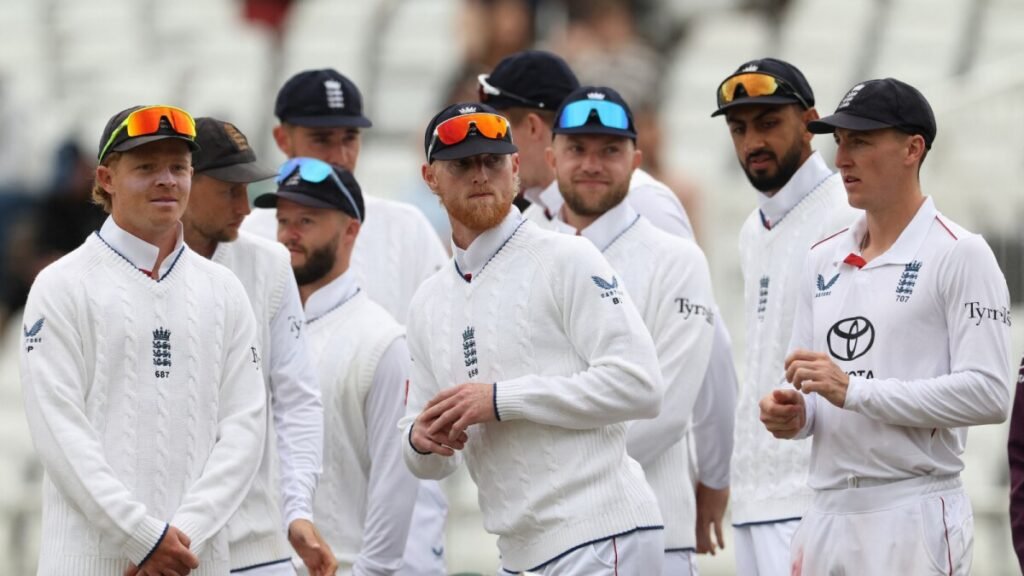
Once Zak Crawley and Ben Duckett settled into their innings inside the first hour, the entire logic behind bowling first collapsed. Zimbabwe’s bowlers were forced into defensive lines and fields far earlier than any team would want in a Test match, and from that point onward they never regained the tactical initiative. This is the single most important context detail that separates a genuine match analysis from a simple scorecard listing-the toss decision wasn’t just unlucky, it fundamentally misread the conditions.
England Batting Card: Crawley, Duckett and Pope Build a Mountain
England posted 565/6 declared in 96.3 overs, built on centuries from Zak Crawley, Ben Duckett and Ollie Pope in the same innings-a rare feat that instantly turned this into one of England’s most dominant home Test performances of the season. Three separate batters passing three figures in one innings is uncommon even at Test level, and it reflects both individual quality and a collective intent to bat Zimbabwe out of the contest entirely rather than simply build a competitive total.
Read More: Oman National Cricket Team vs Namibia National Cricket Team Timeline
| Batter | Dismissal | R | B | 4s | 6s | SR |
| Z Crawley | lbw b Sikandar Raza | 124 | 171 | 14 | 0 | 72.51 |
| BM Duckett | c Curran b Madhevere | 140 | 134 | 20 | 2 | 104.47 |
| OJ Pope | c Tsiga b Chivanga | 171 | 166 | 24 | 2 | 103.01 |
| JE Root | c Williams b Muzarabani | 34 | 44 | 3 | 0 | 77.27 |
| HC Brook | b Muzarabani | 58 | 50 | 6 | 3 | 116.00 |
| BA Stokes (c) | c Curran b Muzarabani | 9 | 13 | 1 | 0 | 69.23 |
| JL Smith (wk) | not out | 4 | 4 | 1 | 0 | 100.00 |
| Extras | b 6, lb 10, nb 3, w 6 | 25 | – | – | – | – |
| Total | 565/6 declared | 96.3 overs |
Did not bat: AAP Atkinson, JC Tongue, SJ Cook, Shoaib Bashir.
Crawley’s innings was built on classical off-side driving, using the pace on the ball rather than manufacturing shots against a tiring attack. Duckett, by contrast, played with the intent of a one-day opener, striking above 100 for most of his innings and repeatedly forcing Zimbabwe’s captain into defensive field changes. Ollie Pope’s 171 was the standout individual effort of the match-a mix of controlled aggression through the covers and calculated risk-taking against the second new ball, ultimately falling just short of what would have been a career-best score.
Fall of Wickets and the Opening Stand That Broke the Game
The Crawley-Duckett opening partnership of 231 runs is the single biggest reason Zimbabwe never recovered control of this Test match. In Test cricket, first-wicket stands beyond 200 runs almost always dictate the shape of the entire innings, and this one was no exception-it consumed 41.3 overs and effectively used up Zimbabwe’s best attacking option, the new ball, without producing a single wicket.
Fall of Wickets (England 1st Innings):
1-231 (Duckett, 41.3 overs), 2-368 (Crawley, 65.1 overs), 3-479 (Root, 82.4 overs), 4-502 (Pope, 89.3 overs), 5-548 (Stokes, 94.5 overs), 6-565 (Brook, 96.3 overs).
Key Partnerships
| Wicket | Batters | Runs |
| 1st | Crawley–Duckett | 231 |
| 2nd | Crawley–Pope | 137 |
| 3rd | Pope–Root | 111 |
| 5th | Pope–Brook | 46 |
What stands out across these partnership figures is the consistency-England didn’t rely on one substantial stand followed by a collapse. Instead, three separate partnerships exceeded 100 runs, which is precisely the kind of batting depth that turns a good total into an overwhelming one. This is also the statistical detail that most competitor scorecard pages tend to skip, focusing purely on individual scores rather than explaining how those scores were constructed together.
Zimbabwe Bowling Figures: Where the Attack Lost Control
Blessing Muzarabani finished with the best figures for Zimbabwe at 3/143, but no bowler in the attack managed to build sustained pressure once England crossed 300. Sikandar Raza was statistically the most economical option, conceding under four runs per over across 24 overs, but his role was containment rather than genuine wicket-taking threat by the closing stages of the innings.
| Bowler | O | M | R | W | Econ |
| R Ngarava | 9.0 | 1 | 42 | 0 | 4.66 |
| B Muzarabani | 24.3 | 3 | 143 | 3 | 5.83 |
| TL Chivanga | 16.0 | 0 | 117 | 1 | 7.31 |
| VM Nyauchi | 18.0 | 0 | 103 | 0 | 5.72 |
| Sikandar Raza | 24.0 | 1 | 93 | 1 | 3.87 |
| W Madhevere | 3.0 | 0 | 34 | 1 | 11.33 |
| BJ Bennett | 2.0 | 0 | 17 | 0 | 8.50 |
The Zimbabwean attack’s biggest structural problem was a lack of a genuine strike bowler capable of extracting bounce or extra pace once the pitch settled. Muzarabani‘s height should have been an asset on a Trent Bridge surface known for carry, but his figures reveal a bowler working hard for limited reward-his economy rate of nearly six an over across almost 25 overs speaks to an attack that had been mentally broken by the middle session of day one.
Zimbabwe First Innings: Bennett’s Century Wasn’t Enough
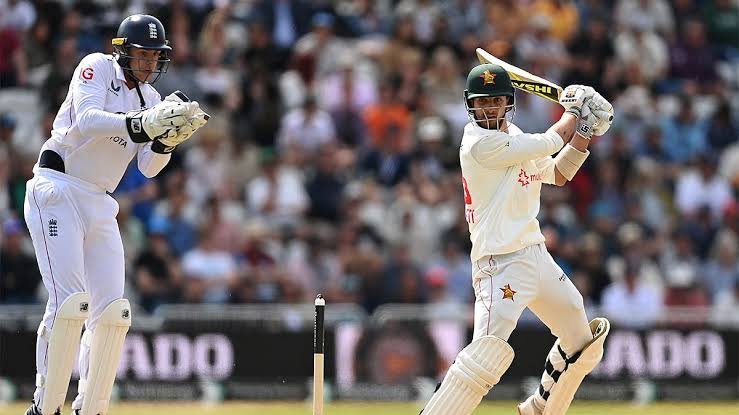
Brian Bennett scored 139 off 143 balls, the fastest Test century by a Zimbabwean batter, but Zimbabwe were still bowled out for 265 in their first innings. This tells the real story of the innings far more accurately than the total alone-a genuine individual highlight, statistically significant in Zimbabwe’s Test history, surrounded by a middle and lower order that folded quickly once the platform was lost.
| Batter | Dismissal | R | B | 4s | 6s | SR |
| BJ Bennett | c Pope b Tongue | 139 | 143 | 26 | 0 | 97.20 |
| BJ Curran | c Brook b Cook | 6 | 10 | 0 | 0 | 60.00 |
| CR Ervine (c) | c Brook b Shoaib Bashir | 42 | 64 | 6 | 0 | 65.62 |
| SC Williams | b Shoaib Bashir | 25 | 41 | 4 | 0 | 60.97 |
| Sikandar Raza | c Smith b Stokes | 7 | 19 | 0 | 0 | 36.84 |
| W Madhevere | b Stokes | 0 | 10 | 0 | 0 | 0.00 |
| TE Tsiga (wk) | b Shoaib Bashir | 22 | 49 | 4 | 0 | 44.89 |
| B Muzarabani | b Atkinson | 12 | 24 | 0 | 0 | 50.00 |
| TL Chivanga | lbw b Atkinson | 2 | 19 | 0 | 0 | 10.52 |
| VM Nyauchi | not out | 0 | 5 | 0 | 0 | 0.00 |
| R Ngarava | absent hurt | – | – | – | – | – |
| Extras | lb 6, nb 4 | 10 | – | – | – | – |
| Total | 265 all out | 63.2 overs |
Bennett’s innings deserves genuine credit independent of the eventual result. Facing a bowling attack that included an established Test spinner in Shoaib Bashir and a battle-tested seam trio, he combined orthodox technique against pace with aggressive intent against spin, striking at nearly a run a ball across a 143-delivery innings. It stands as one of the more historically significant individual performances by a Zimbabwean batter in the modern Test era, even in a losing cause. Once Bennett was dismissed for 139, however, Zimbabwe’s innings unraveled quickly-from 246/6 to 265 all out took only 17 overs, a collapse pattern that reflects the batting depth problem facing associate and newer full-member sides when their most experienced player departs.
England Bowling Attack in Zimbabwe’s First Innings
Shoaib Bashir took 3 wickets in Zimbabwe’s first innings before doubling that impact in the follow-on, making him the most consistent threat across both attempts and the eventual Player of the Match.
Read Also: Bangladesh Women vs Australia Women’s National Cricket Team Timeline
| Bowler | O | M | R | W | Econ |
| SJ Cook | 17.0 | 1 | 72 | 1 | 4.23 |
| AAP Atkinson | 13.2 | 2 | 58 | 2 | 4.35 |
| Shoaib Bashir | 16.4 | 2 | 62 | 3 | 3.72 |
| JC Tongue | 13.0 | 1 | 56 | 1 | 4.30 |
| BA Stokes | 3.2 | 2 | 11 | 2 | 3.30 |
Sam Cook‘s Test debut figures of 1/72 don’t fully reflect the control he showed across his 17 overs, working tight lines that allowed the more experienced bowlers around him to attack from the other end. Ben Stokes’ late burst of 2/11 in just over three overs also deserves attention-it’s the kind of short, sharp captain’s intervention that often goes unnoticed in scorecard summaries but reflects sound tactical reading of a tiring lower order.
Zimbabwe Second Innings: The Follow-On Collapse
Forced to follow on after conceding a 300-run first-innings lead, Zimbabwe were bowled out for 255 in their second innings, with Shoaib Bashir taking a career-best 6/81 to finish the match inside three days. Sean Williams fought back with a genuinely impressive 88 off 82 balls, the standout act of individual resistance in either Zimbabwean innings, but it was never enough to prevent the innings defeat once the top order had folded inside the first hour.
| Batter | Dismissal | R | B | 4s | 6s | SR |
| BJ Bennett | lbw b Atkinson | 1 | 10 | 0 | 0 | 10.00 |
| BJ Curran | c Stokes b Shoaib Bashir | 37 | 104 | 1 | 0 | 35.57 |
| CR Ervine (c) | c Pope b Tongue | 2 | 13 | 0 | 0 | 15.38 |
| SC Williams | lbw b Shoaib Bashir | 88 | 82 | 16 | 0 | 107.31 |
| Sikandar Raza | c Brook b Shoaib Bashir | 60 | 68 | 10 | 0 | 88.23 |
| W Madhevere | c Brook b Stokes | 31 | 36 | 4 | 0 | 86.11 |
| TE Tsiga (wk) | b Shoaib Bashir | 4 | 13 | 0 | 0 | 30.76 |
| B Muzarabani | c Root b Shoaib Bashir | 0 | 2 | 0 | 0 | 0.00 |
| VM Nyauchi | not out | 13 | 17 | 2 | 0 | 76.47 |
| TL Chivanga | lbw b Shoaib Bashir | 10 | 12 | 2 | 0 | 83.33 |
| R Ngarava | absent hurt | – | – | – | – | – |
| Extras | b 2, lb 2, nb 3, w 2 | 9 | – | – | – | – |
| Total | 255 all out | 59.0 overs |
The follow-on decision itself is worth analyzing tactically. Enforcing it after a lead beyond 300 runs is standard practice at Test level, but it carries genuine risk-it denies the fielding side rest between innings and can occasionally backfire if the pitch flattens out further. In this case, it paid off almost immediately, with Brian Bennett dismissed for just 1 inside the third over, an enormous swing from his first-innings century that illustrates how quickly psychological momentum can flip once a team is forced to bat again without recovery time. Sean Williams and Sikandar Raza briefly threatened to extend the match with a 122-run third-wicket stand, the only partnership of real substance in either Zimbabwean innings, but once Bashir broke through, the remaining order offered little further resistance.
Bashir’s Match-Sealing Second Innings Spell
Shoaib Bashir’s 6/81 in the second innings was his best figures in Test cricket at the time, breaking the Williams-Raza stand and running through the remaining order with minimal turn available off the pitch.
| Bowler | O | M | R | W | Econ |
| SJ Cook | 14.0 | 3 | 47 | 0 | 3.35 |
| AAP Atkinson | 6.0 | 2 | 17 | 1 | 2.83 |
| JC Tongue | 12.0 | 0 | 65 | 1 | 5.41 |
| Shoaib Bashir | 18.0 | 1 | 81 | 6 | 4.50 |
| BA Stokes | 8.0 | 0 | 41 | 1 | 5.12 |
| JE Root | 1.0 | 1 | 0 | 0 | 0.00 |
What made Bashir’s second-innings performance particularly impressive is that he achieved it without significant assistance from the pitch. His control came from consistent changes of angle around the wicket, varying his pace through the air rather than relying on sharp turn, and specifically targeting Zimbabwe’s right-handers with drift into the pads-a tactic that produced four of his six wickets via lbw or bowled dismissals.
Match Timeline: Session-by-Session Momentum
England’s dominance was built entirely on day one, when they reached 498/3 at the close-the highest first-day total by a home England Test side in history. This early platform meant Zimbabwe never had a genuine window to fight their way back into contention at any stage across the remaining two days.
Day 1: England reached 498/3 at the close of play. The Crawley-Duckett stand of 231 runs set the tone before either fell, and by the time bad light ended proceedings, Zimbabwe’s bowlers had already been through the entire attack twice with no reward.
Day 2: England pushed on before declaring at 565/6, extending the total well past any realistic chase range for the tourists. Zimbabwe’s reply began immediately under lights-out pressure, slipping to 30/2 inside the opening hour of their innings.
Day 3: Zimbabwe, trailing significantly overnight, were bowled out for 265 in their first innings and made to follow on. Bashir’s second-innings burst of 6/81 ended the match well inside the scheduled fourth day, sealing England’s innings-and-45-run victory.
Turning Point and Records Confirmed
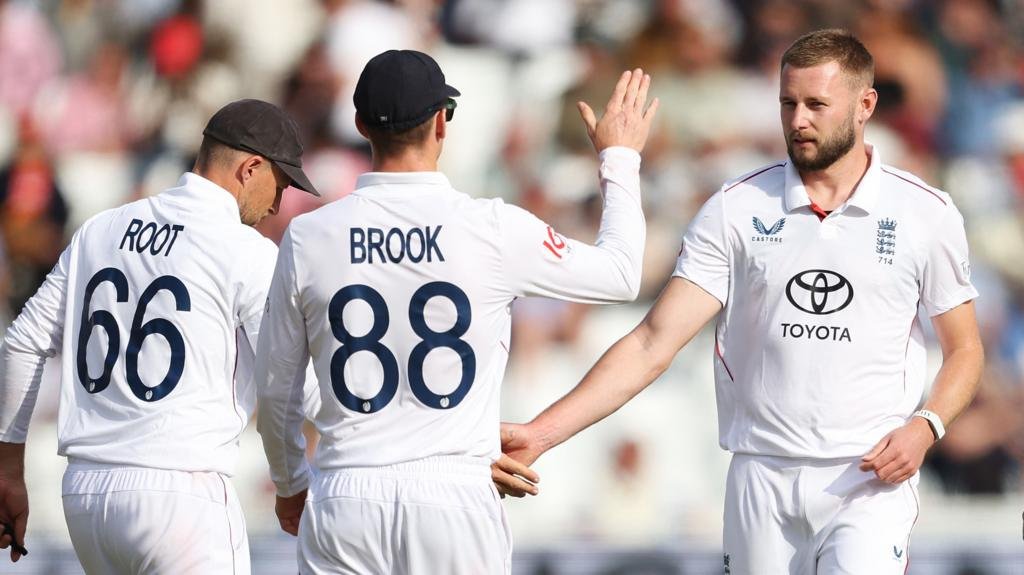
The single moment that decided this England Cricket Team vs Zimbabwe National Cricket Team match scorecard was the 231-run opening stand between Crawley and Duckett-once that partnership passed 200 runs, Zimbabwe had no realistic route back into the contest. Every subsequent statistic in the match, from Pope’s 171 to Bashir’s 9-wicket haul, built on the foundation that opening partnership created in the first two sessions. Brian Bennett’s 139 remains the individual highlight for Zimbabwe and a genuine record in the country’s Test history, while England’s 498/3 first-day total and Bashir’s 9-wicket match haul stand as the defining statistical markers of the fixture. For a team returning to Test cricket in England after 22 years, the result underlined the scale of the gap that period created-but Bennett’s innings also offered a genuine signal of the batting talent Zimbabwe can build around going forward.
Frequently Asked Questions:
What is the England vs Zimbabwe Test match scorecard result?
England won by an innings and 45 runs, scoring 565/6 declared against Zimbabwe’s 265 and 255.
Who was the Player of the Match in England vs Zimbabwe?
Shoaib Bashir, for combined match figures of 9 wickets across both Zimbabwean innings, including 6/81 in the second innings.
Who scored the highest individual score in this match?
Ollie Pope scored 171 for England, the highest individual score of the match.
Did Zimbabwe have any standout batting performance?
Yes, Brian Bennett scored 139 in the first innings, the fastest Test century by a Zimbabwean batter, and Sean Williams added 88 in the second innings.
Where was the England vs Zimbabwe Test played?
The match was played at Trent Bridge, Nottingham, marking Zimbabwe’s first Test in England in 22 years.
Who won the toss in the England vs Zimbabwe Test?
Zimbabwe won the toss and chose to field first.
How many wickets did Shoaib Bashir take in the match?
Shoaib Bashir took 9 wickets across both innings, including a career-best 6/81 in the second innings.
What was the biggest partnership of the match?
The 231-run opening stand between Zak Crawley and Ben Duckett was the largest and most decisive partnership of the Test.
Why did Zimbabwe follow on in this match?
Zimbabwe conceded a first-innings lead beyond 300 runs, which allowed England to enforce the follow-on and bat Zimbabwe again immediately without recovery time.
Who were the umpires for the England vs Zimbabwe Test?
Kumar Dharmasena and Allahuddien Paleker stood as on-field umpires, with Jeff Crowe as match referee.

Related Posts
Profilbau Victoria United vs Powergen Penal SC Match Scorecard: PPS Win by 4 Runs
India Legends vs West Indies Legends Match Scorecard: Binny 50, Pollard 74 Decide WCL 2025 Thriller